I was struggling for some weeks getting this done, but just achieved a breakthrough. This post will brief out controlling the RasPi’s GPIOs over the network and demonstrating how easily it can be used as a powerful IOT device. Most of the details including the WebIOPi framework, libraries and scripts are taken from https://code.google.com/p/webiopi/wiki/INSTALL.
First and foremost, download the WebIOPi framework from the Raspberry Pi’s terminal by typing in the following commands
$ wget http://webiopi.googlecode.com/files/WebIOPi-0.6.0.tar.gz
$ tar xvzf WebIOPi-0.6.0.tar.gz
$ cd WebIOPi-0.6.0
$ sudo ./setup.sh
The setup script will automatically download the required dependencies and headers for Python which are almost 35-40 MB in size. It took me almost 60 mins as I’m currently on a very very slow network 🙁
Once all the packages and dependencies are installed and deployed, you should see this success message:
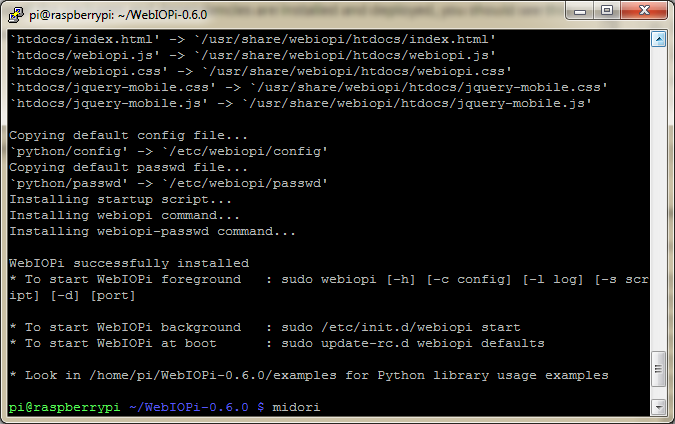
All set!!!
Now, simply shoot this command in the terminal:
sudo webiopi 8000
and Voila!!! You should see framework messages like this:

Now, open your browser on the same Network. If your RasPi is plugged into a display unit and you’re using a Mouse/KB plugged to the Pi, open midori and type this in the address bar:
http://169.254.39.71:8000/
where 169.254.39.71 is the IP addr of the Raspberry Pi and 8000 is the port you just defined previously. Since I’m connected on the same WiFi network, I typed addr this into my Laptops’s Chrome browser and this is what we get initially:
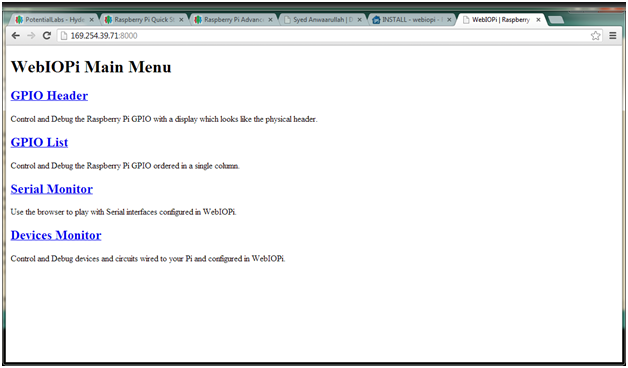
Click the GPIO Header link and you should see something like this:
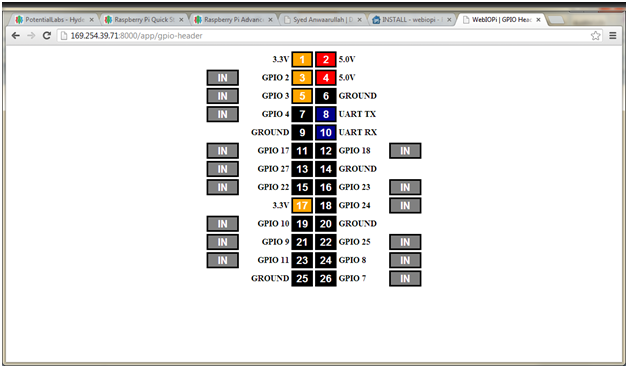
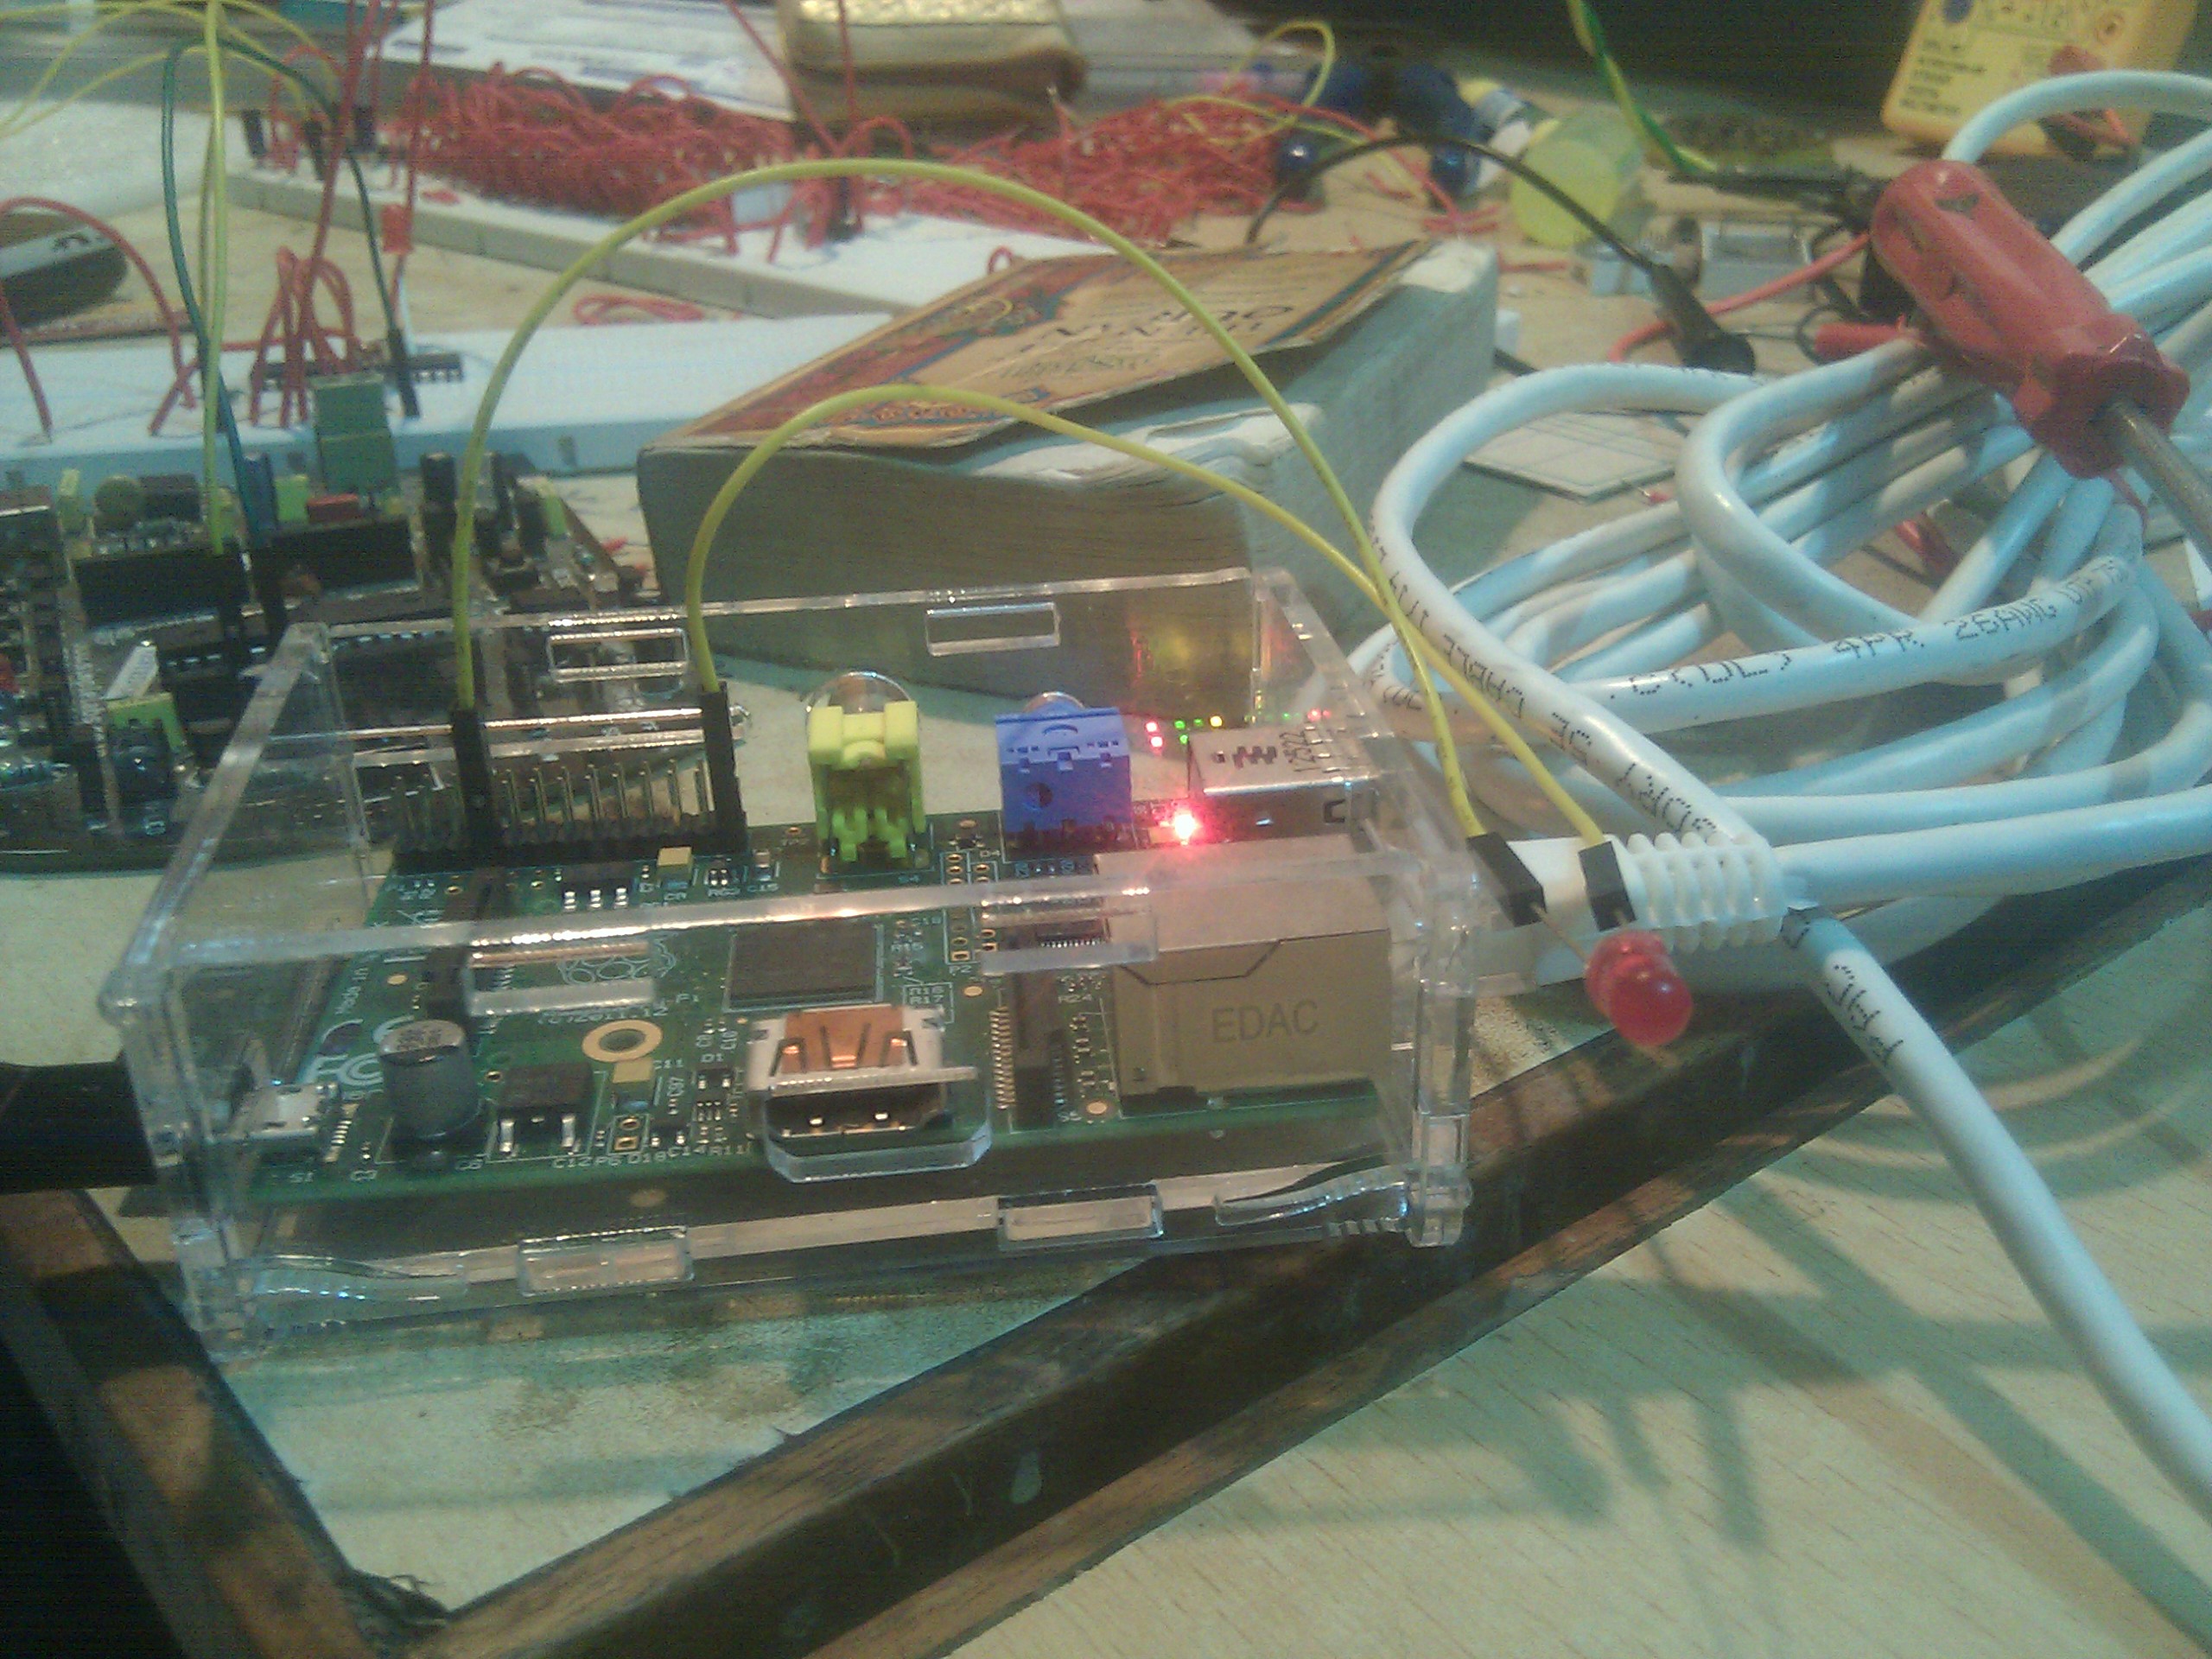
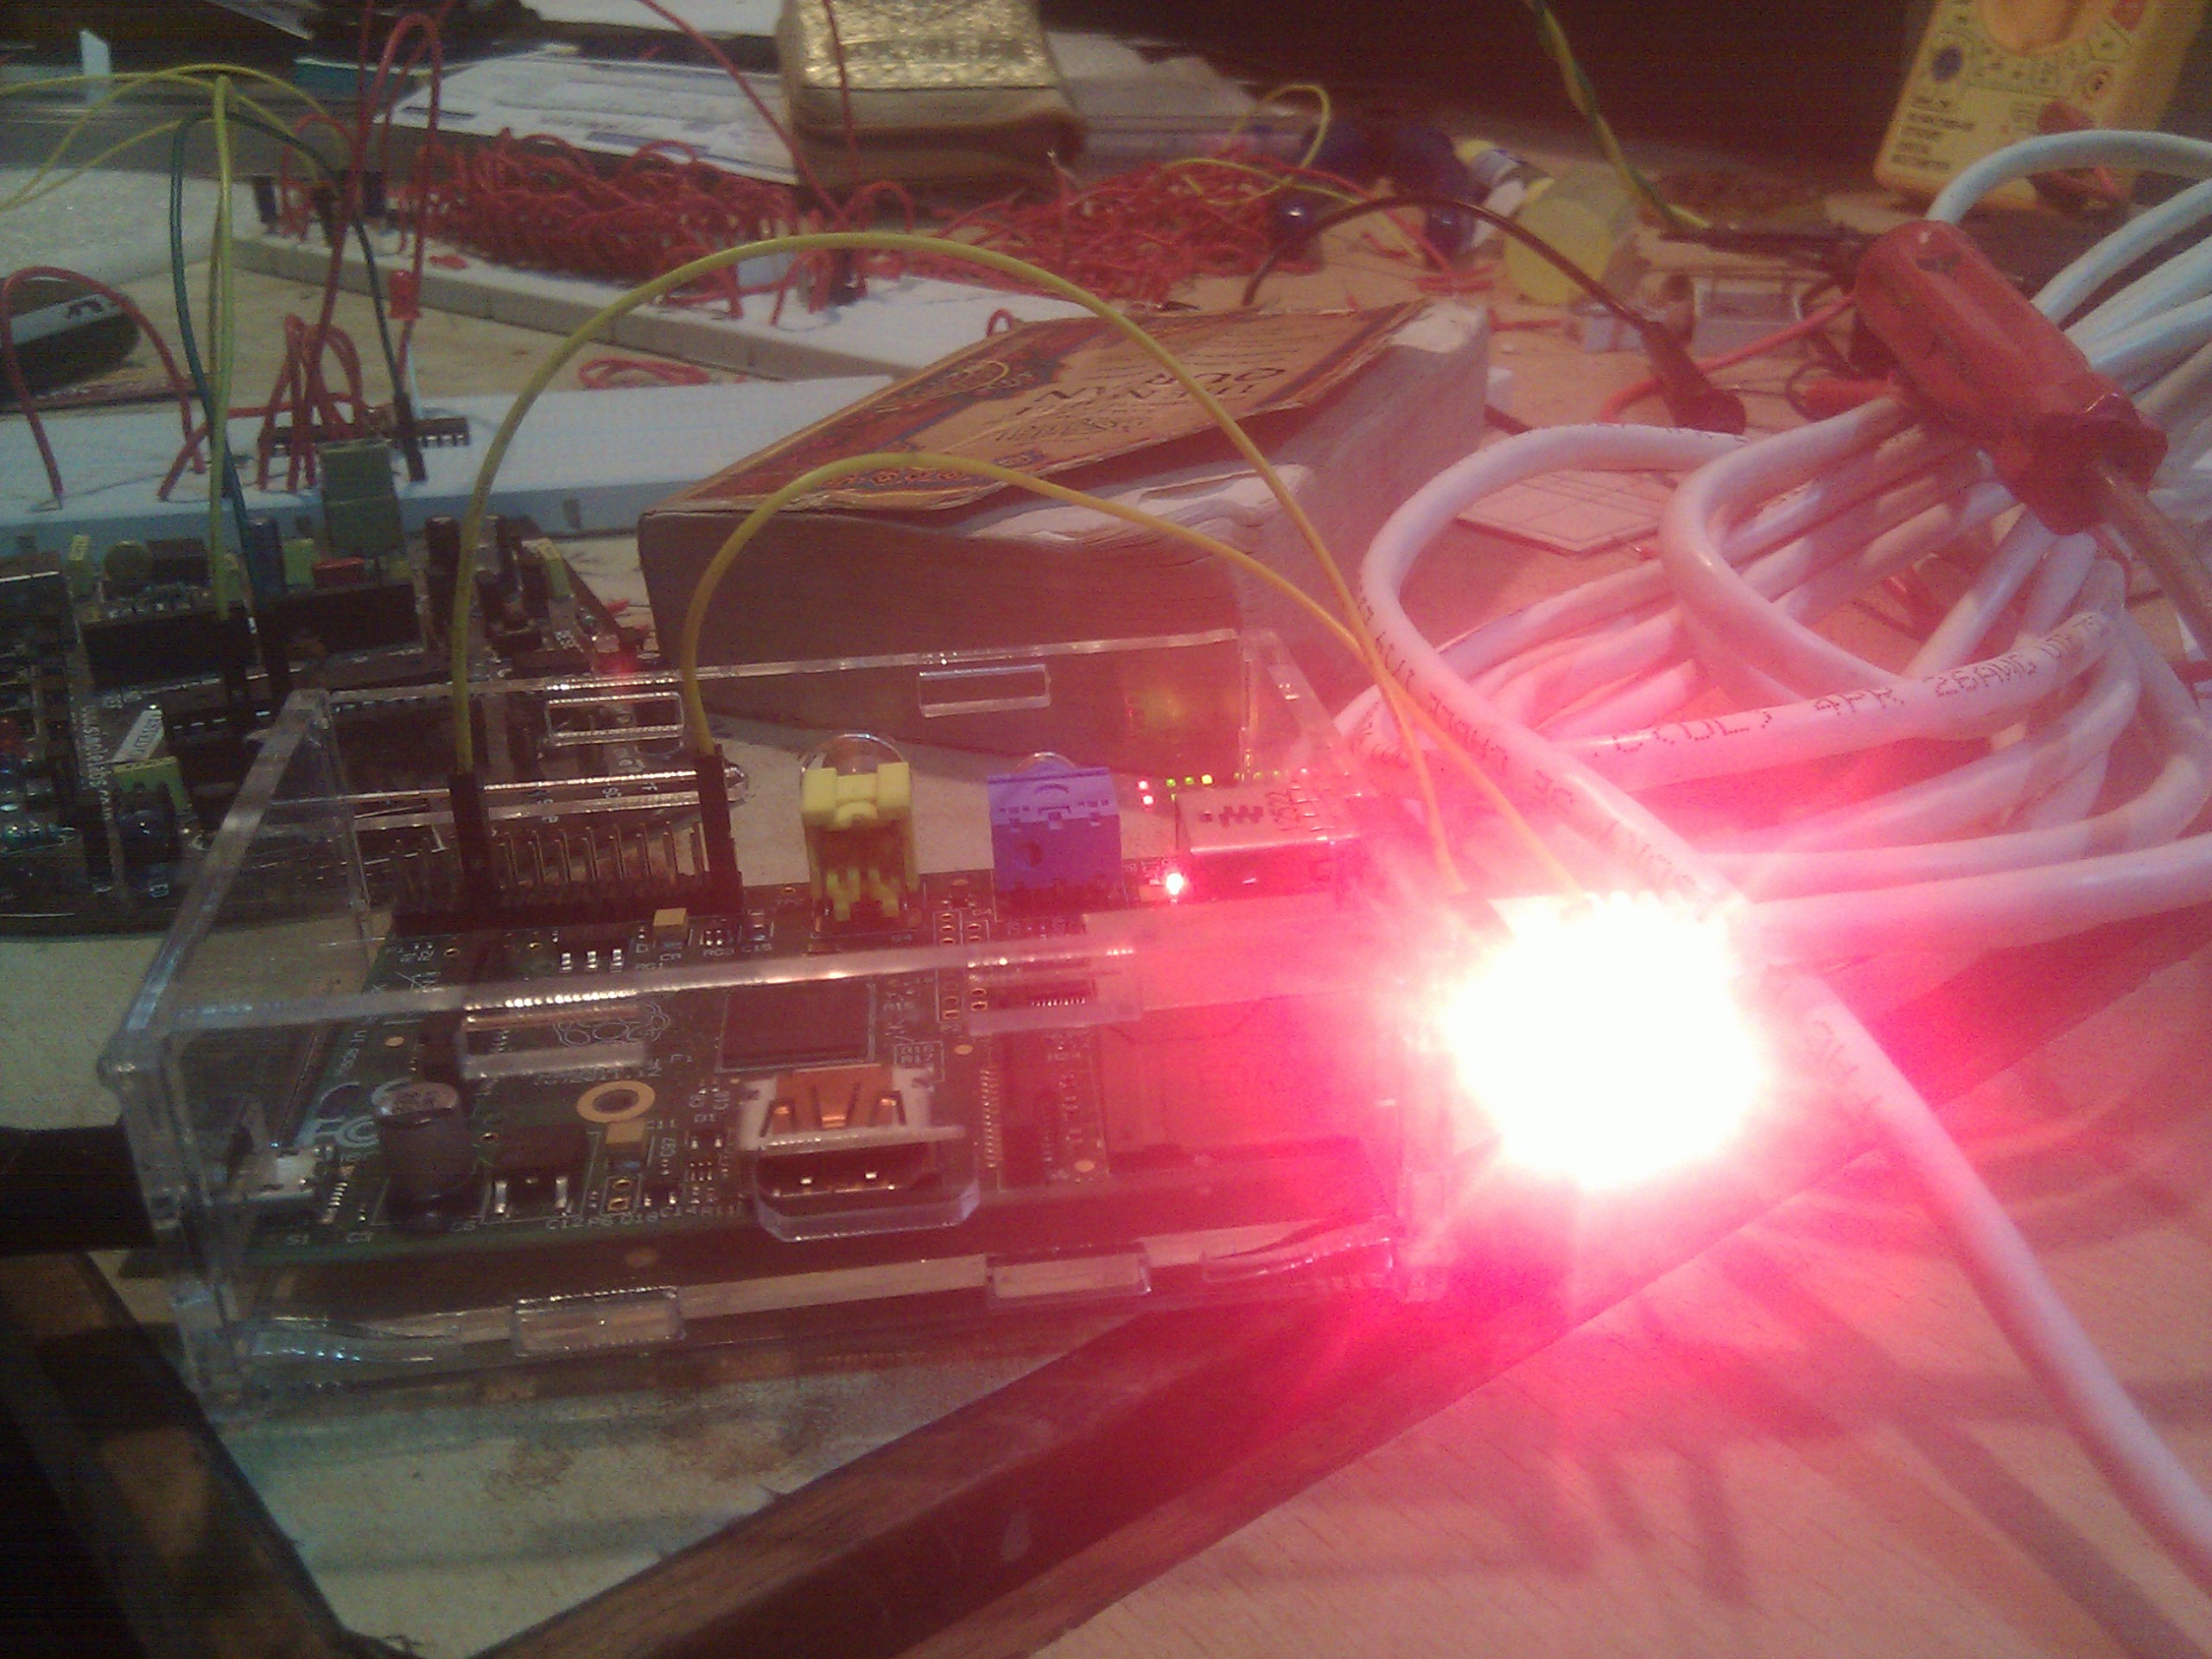
Now connect a small LED to GPIO4 (7), change the Pin direction to OUT from IN and toggle the value by clicking on 7. You should see your LED also blink 🙂

You can see a quick demo here: